Managing databases in DirectAdmin is a crucial task for maintaining your website’s functionality.
Especially if your site relies on dynamic content, such as blogs, e-commerce platforms, or content management systems (CMS) like WordPress.
Table of Contents
Managing Databases in DirectAdmin
Here’s a practical guide to help you managing databases efficiently in DirectAdmin.
1. Creating a New Database
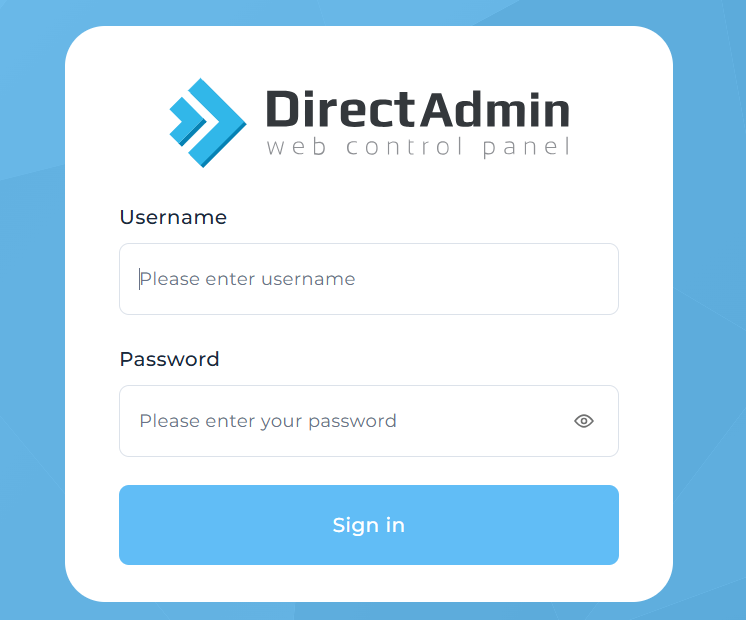
Step 1: Log in to DirectAdmin
- Access your DirectAdmin control panel using your credentials.
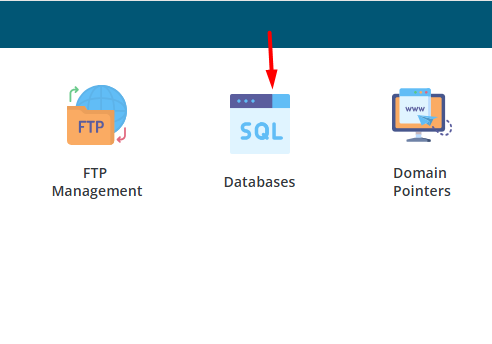
Step 2: Navigate to MySQL Management
- Go to Account Manager > MySQL Management.
- This is where you can create, view, and managing databases.
Step 3: Create a New Database
- Click on Create New Database.
- Enter a name for your database. DirectAdmin may automatically prepend your account name to the database name, so it might look like
username_databasename. - Enter a Username and Password for the database user. This user will have access to the database.
- Confirm the password and click Create.

Step 4: Note the Database Details
- After creating the database, DirectAdmin will display the database name, username, and password. Keep these details safe, as you’ll need them to connect your website or application to the database.
2. Managing Database Users
Step 1: View Database Users
- In MySQL Management, you can see a list of managing databases and the users associated with them.
- Click on a database to see the details and manage users.
Step 2: Add a New Database User
- To add another user to a database, click on Add New User within the selected database.
- Enter the new username and password.
- Assign appropriate privileges (e.g., SELECT, INSERT, UPDATE) to the user, depending on what they need to do within the database.

Step 3: Modify or Delete a User
- You can also modify a user’s password or delete a user entirely by selecting the appropriate options within the database management interface.
3. Accessing and Managing Databases via phpMyAdmin
Step 1: Open phpMyAdmin
- Go to Extra Features > phpMyAdmin.
- phpMyAdmin is a powerful web interface for managing MySQL databases. It allows you to perform tasks such as running SQL queries, exporting/importing managing databases, and more.

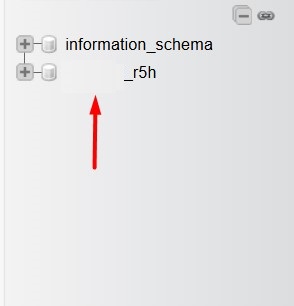
Step 2: Select a Database
- Once inside phpMyAdmin, you’ll see a list of managing databases on the left sidebar.
- Click on the database you want to manage to view its tables and data.
Step 3: Managing Tables
- Inside a database, you can manage individual tables:
- Browse: View the data in the table.
- Structure: Modify the table structure (e.g., add or remove columns).
- SQL: Run custom SQL queries against the database.
- Operations: Perform tasks like renaming the table, copying it, or optimizing it.
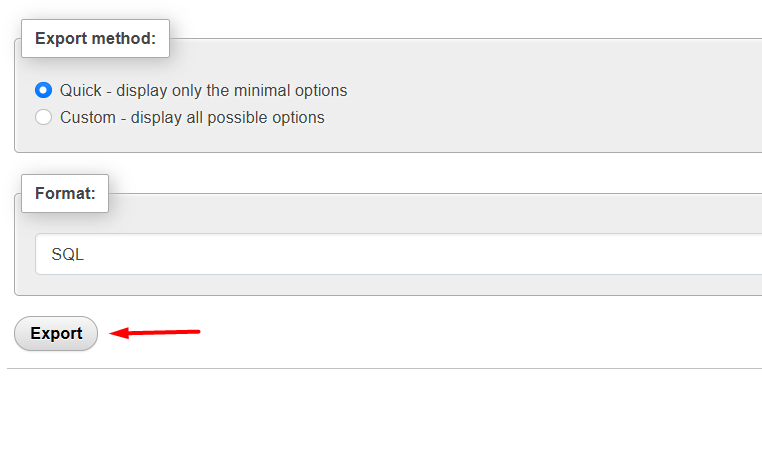
Step 4: Exporting and Importing Databases
- Exporting: To export a database, click on Export. You can choose the export format (usually SQL) and the export method (Quick or Custom). Download the exported file to your computer.

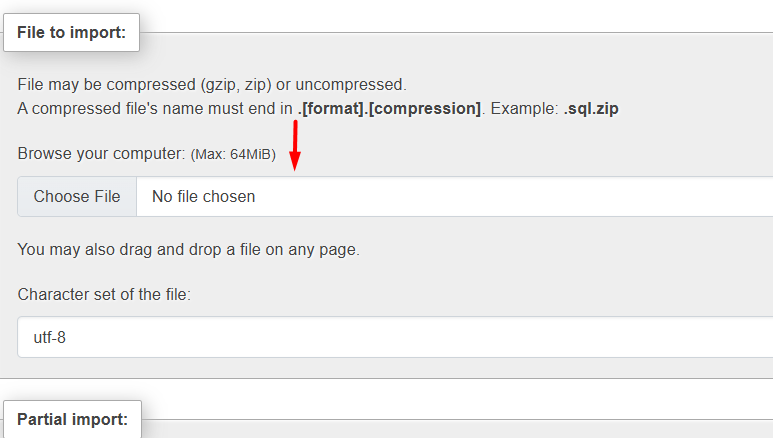
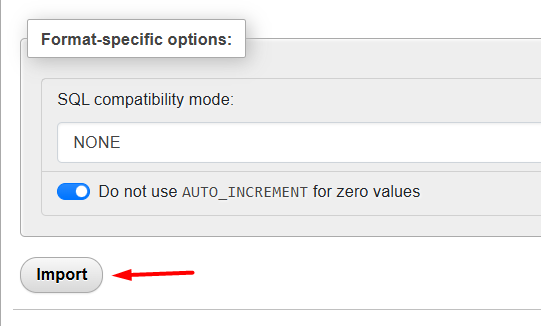
- Importing: To import a database, click on Import. Select the file to upload (usually a
.sqlfile) and start the import process. This is useful for restoring databases or transferring them between servers.

4. Backing Up and Restoring Databases
Step 1: Back Up a Database
- In DirectAdmin, go to MySQL Management.
- Click on the database you want to back up.
- Use the Download Backup option to export the database as a
.sqlfile and save it locally.
Step 2: Restore a Database
- To restore a database, you can either use the Import feature in phpMyAdmin or use the Upload Backup option in DirectAdmin’s MySQL Management.
- Ensure the database exists in DirectAdmin before restoring, or create a new one if necessary.
5. Optimizing and Repairing Databases
Step 1: Optimize Tables
- Regular optimization helps improve database performance by reducing overhead.
- In phpMyAdmin, select the database, check the tables you want to optimize, and choose Optimize table from the dropdown menu at the bottom.
Step 2: Repair Tables
- If a table is corrupted or not functioning properly, you can repair it.
- In phpMyAdmin, select the affected tables and choose Repair table from the dropdown menu.
6. Deleting Databases
Step 1: Delete a Database
- In MySQL Management, you can delete a database by clicking on the trash icon next to the database name.
- Confirm the deletion. This action is irreversible, so ensure you have a backup if needed.
Step 2: Remove Unused Users
- After deleting a database, consider removing any associated users who no longer need access.
7. Connecting Your Website to a Database
Step 1: Use Connection Details
- Use the database name, username, and password you created in your website’s configuration file (e.g.,
wp-config.phpfor WordPress). - The database host is usually
localhost, but it may vary depending on your hosting provider.
Step 2: Test the Connection
- Ensure that your website can successfully connect to the database. Any connection issues will typically result in an error message, which you can troubleshoot by checking the connection details.
8. Monitoring Database Performance
Step 1: Monitor Resource Usage
- Use DirectAdmin’s Resource Usage tool to monitor CPU and memory usage, particularly if your database-driven site is resource-intensive.
- Regularly check for slow queries or high resource consumption, which could indicate a need for optimization.
By following this practical guide, you can effectively managing databases in DirectAdmin, ensuring your website runs smoothly and efficiently.
Whether you’re creating new databases, managing users, optimizing performance, or backing up data, these steps will help you maintain a healthy and robust database environment.